
General
- Mimic the Behaviour of Analog Equipment
- Use Plugins / Audio / Layers / Parallel Techniques / Automation / Noise / Hiss to Fill the Spectrum
Tools
Noise Generator (Falcon or Tone Generator) = Pink (Loses 3dB per Octave), White (Equal Power), Blue, Band, or Noise Audio Files
Izotope RX = Output Only Crackle or Ambience from Another Track
Tracks Tape (24, 80) = Record / Play / Bias EQ
Magnetic Tape = Noise/Hiss, Very Quiet Static Noise
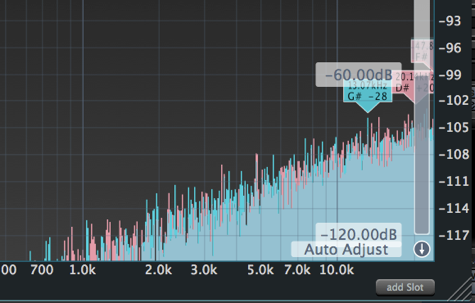
Maag EQ = Air Band
Edelweiss = 2 High Bands
TAL DAC = Only Along Audio Material (i.e. No Generator), Mimic Hiss High and Low, Mimic Reduced Bits and Sample Rates, Jitter
Foley Sounds = Falcon Xtreme, Granulator FX, Omni, Iris,
Volume Envelope to Midi or CC
- the Idea is to have a Source of which you Want the Volume Envelope and a Destination where you Apply the Volume Shape of the Source as Midi or CC
- DP Peak Meter Pro Analyzes a Waveform´s Amplitude Over Time and the Resulting “Volume Envelope” can be Routed to CC or Used as Midi Automation (e.g. Modulate a Synth´s Parameter in Real Time)
– e.g. Use it to Automate the Volume of Added White Noise to Follow the Levels of your Audio in Order to Enhance a Track
– Data can also be used for other Production Pipelines Such as Video Clip Animation, Light Animation etc. that Read Midi
– Notice that the Plugin itself can also be Controlled by Midi or Automation (Control Input Section), as the Plugin is able to Transform / Send Measurements into Midi and Automations
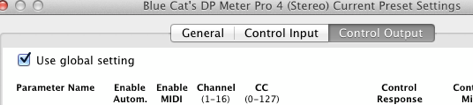
– it is Helpful to First Setup the Most Wanted CC´s in the Global Settings in DP Meter Pro (these will Last)
– then you can Call any DP Meter Factory Preset but change the CC´s to use “Global Settings” instead “Preset Settings”
Fast Workflow
- Add DP Peak Meter Pro to the Source Audio of which you Want to Print an Envelope Stamp
2) Add a Vst Instrument (Does Not have to have Instrument Loaded Though)
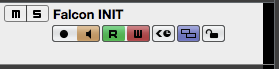
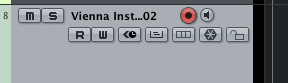
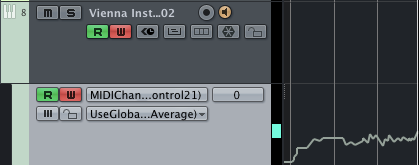
- Enable “Monitor In” Icon and also R/W Mode
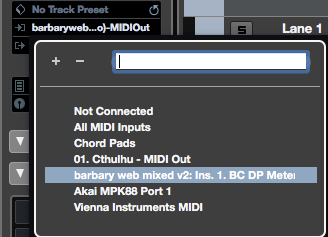
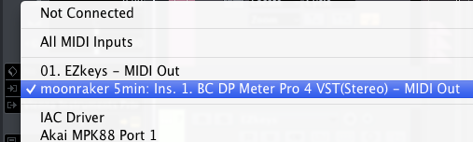
3) Set Input of Midi to Get Data from DP Peak Meter Pro
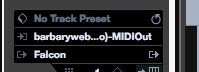
4) Press Play in Cubase and See the Envelope Drawn in Real Time (No Need to Press Record)
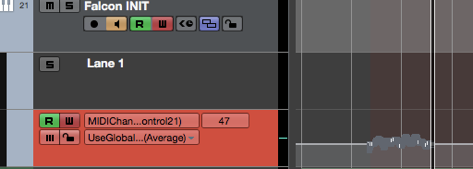
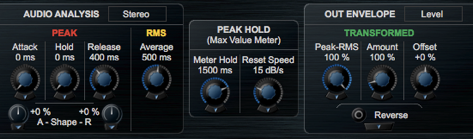
5) Eventually Make Changes to Either Interpolation Mode (e.g. Slow, Fast) or Min / Max Values

- or to Parameters of the Specific Used Meter Analysis Type (i.e. Peak, RMS or Transformed Output)
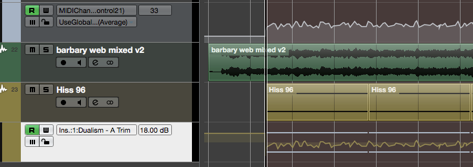
6) Once the Whole Envelope is Drawn on the Lane, you can Simply Copy/Paste the Data to Any Other Lane
Detailed Workflow
1) Run a Audio Signal through a DP Peak Meter Pro Instance (here Moonraker)
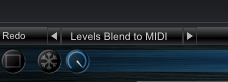
– choose a dedicated CC Skin to Fasten Up Workflow (here “Transformed” Envelope also called Levels Blend)

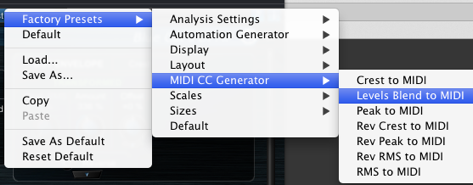
2) Create a Vst Instrument and prepare the Target CC that gets Modulated (Driven) by DP Meters “Out Envelope”
– here we want the “Transformed” Envelope (Levels Blend) of “Moonraker” to Drive “Vel FX” in VSL (CC21)
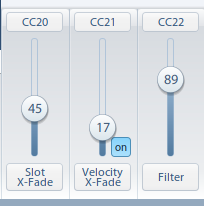
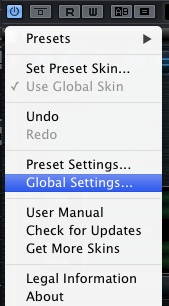
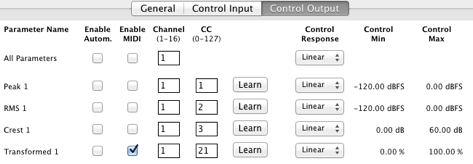
3) Go to DP Meters Global “Settings” and “Enable Midi” (Not Enable Automation) for the desired Out Envelope (here “Transformed 1”) in the “Control Output” Tab
– could be either Peak, RMS, Crest or individually Mixed Curves
4) Select the VSL Vsti Track and Set the “Moonraker” as Midi Out and Record Enable the Channel as well
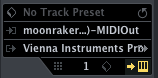
5) Now CC21 in VSL should be Animated already
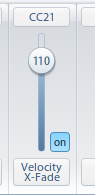
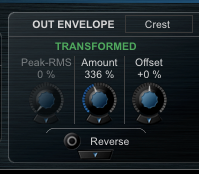
6) Adjust Shape with Parameters in “Out Envelope” Window
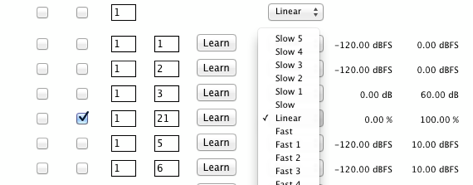
– use Slow, Linear or Fast Custom Interpolation Modes from within Global / Preset Settings which Represent How Fast the Envelope Reacts to the Source Material (e.g. Slow 5 Follows Closely the Original Audio Waveform)
Out Envelope in Short
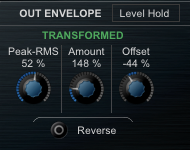
- is Dedicated to the Transformed Envelope for Parameter Modulation and Side-Chaining
– i.e. Fine Tune Parameters to get a desired Envelope, that further Triggers any CC you want
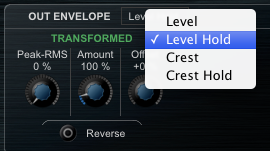
– there are Different Dedicated Parameters for Peak, RMS or Crest
– Amount gives with Higher Volumes a Higher Dynamic Output, where Small Values gives you a more Narrow Envelope Curve
– with Offset you put Back the Envelope to the Center (or any Place you want), if you have a too High Amount and the Histogram shows Nothing
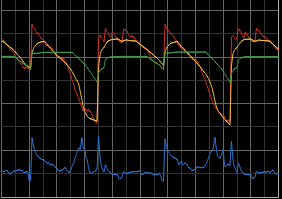
7) To finally Record / Draw the “Transformed” Envelope as Automation in Cubase, there are 2 Methods:
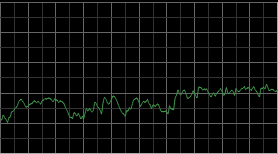
Midi Clip Automation
a) Either simply Hit Record on Target Track to Record Automation into Midi Clip (here VSL)

b) Then Use Function “Extract Midi” to put Automation Curve into “Lane Based Automation”

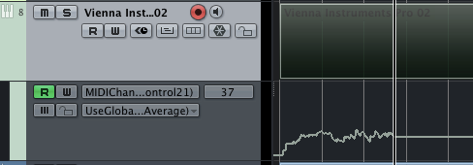
or
Lane Based Automation Directly
a) Be sure to Set Target Track to “Monitor Only” (Not Record Enabled !)
b) Also make sure to Set Target Track to R/W Mode
c) Simply Hit Play and the Automation will be Drawn directly in Arrange as Automation Lane for CC21
Creative Noise to Gate
- How to Route Falcon Noises to a Gate that Listens and Follows Any SC Signal
- e.g. Add Air or Body from Various Noise Types within Falcon to Any Signal
– or Add Subtle Noise by Following a Drum Tracks Elements
- Make a Noise Track with Falcon and Insert a Noise Gate Directly on the Falcon Instance
2) Set Noise Gate Vst SC and Make the Settings in the Specific Noise Gate Plugin
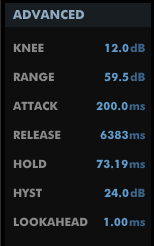
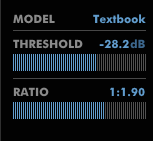
- in the DMG Noise Gate you can Directly Mix the Signals in the Mixer Section
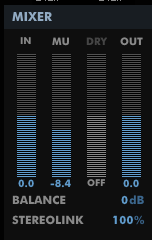
3) You can EQ or Spread the Noise in the Stereo Field etc.
Leave a Reply