
General
- How to Layer Kicks
- Always Layer Stuff, i.e. Do Not Use a Insert and / or Process 1 Kick
- instead, Divide the Whole Kick into 3 Elements “Knock / Sub / Click” to Freely Sculpt Each Layer
- in General, Shift the Start Point of a Sample to Find the Sweet Spot Start Point / Click on of Any Given Instrument
Workflow
Start with the Kick Knock
- No Harmonics
- Just a Half a Second Knock
- Brickwall FIR Filter Out Frequencies Above 110Hz/120Hz
- Certainly Nothing Above 700Hz
Add the Sub
- Use a Sub with a Dedicated Pitch Envelope (e.g. Serum)
- Use a Square Wave and LP the Square Wave
Add a Click
- Use Anything that has a Fast Transient and Short Release (e.g. Dropping Pencil, Scooting Piece of Paper)
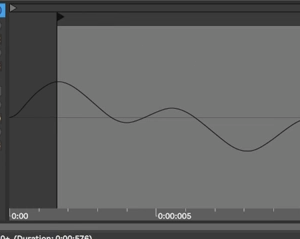
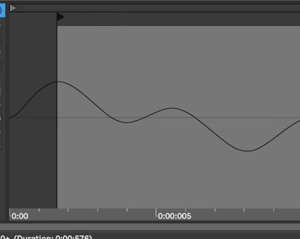
– Cut Things Off Axis for Every Kick and Quasi Add Intentionally a DC Offset
– i.e. Instead Searching for the Zero Crossing Point in the Waveform, Shift the Starting Point of the Sample to Intentionally Search for the Best Click
– Click Often Sits Good at the 2k Spot
Make Space
- Put Click a Little Ahead or VIceversa etc.
- SC Sub vs Knock
Leave a Reply