
General
– How to Listen and Compare in Real Time Different Codecs via Master Check Pro
– i.e. How the Music Sounds in Streaming and / or as Download Version
– Master Check Pro Supports All the Music Platforms
– Detects True Peaks
– Meter = will Meter the DAW Playback Source (i.e. Channel you have Send Plugin Routed to Master Check)

– Icon = Listen to the Difference that is Being Removed when Encoding in Monitor Mode (i.e. Difference Codec vs the Original Source Material

– Monitor Mode = Audition the Codecs
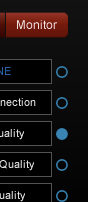
Example Master for iTunes Streaming
1) Insert Master Check Pro in the Main Mix Output
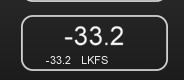
2) Play Back your Material and Let Mastercheck Analyze the Source Material Signal (Shows the LKFS Readout)
– Be Sure to Let the Source Material Play for Enough Time for an Accurate Integrated Loudness Reading
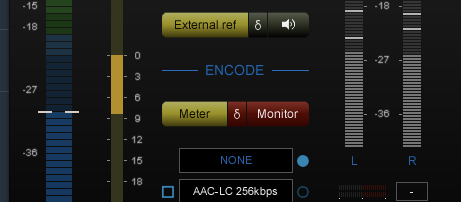
3) Choose your Appropriate Target Codec Manually or via Preset here
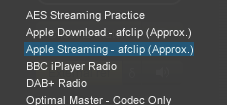
– you See the Target´s LKFS which is here at -16 for iTunes Streaming (Be Sure “External Ref” is OFF)


4) Play Back the Material Again and Click “Offset to Match”
– Mastercheck Fits the Volume of your Track to the -16 LKFS for iTunes Streaming (also Shows How Much Gain it has Applied which is here 15.4 LU)
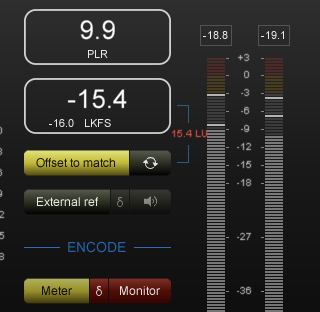
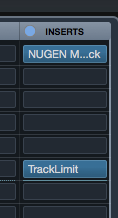
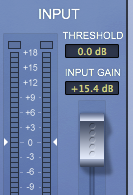
5) Insert a TP Limiter on your Track and Increase the Gain by the Required LU (this Example +15.4 LU)
6) Now that the Integrated Level Matches the Target, Go to the “Monitor” Option to Finally Listen to Codec Versions (Be Sure that “Offset to Match” is OFF)
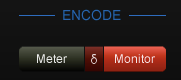
7) It is Simply a Matter of Pressing the Round Square to Listen to the Codec
– Keep an Eye on the Peak Meters and Eventually Go Back to the Limiter Unit and Activate the True Peak Limiter Function (here -4.4LU is a Safe Headroom)
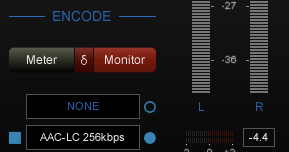
– Press “Icon” to Listen to the Difference that is Being Removed when Encoding, the Heavier the Encoding the More Signal you will Hear (e.g. in 40 kbps Encoding More Material will be Removed than in 256kbps)
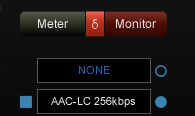
8) Once Levels, Peaks etc are Matched you Know What to Do to Optimise / Master your Material and Enhance the Result Before Print the Codec Version
Compare to an External Reference Source
1) Insert Nugen Send on Desired Reference Track
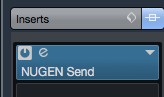
– Only Enable “Audio Thru” in the Send Instance to Hear the Source Constantly (which is NOT Necessary here)
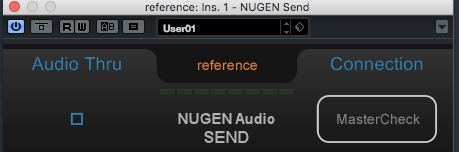
2) Select the “Send” Instance Inside the Master Check Pro Instance in the Main Mix Output to Make the Connection
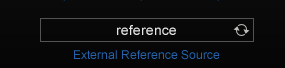
3) Activate “External Ref”

4) Same as Before, Click “Offset to Match” will Match your Track to the Reference Track
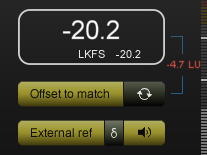
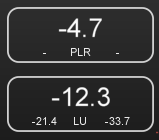
– Notice that the “Icon” here Shows the Difference in Level, i.e. Left Your Material (here -21.4 LU) and Right Reference Material (here -33.7 LU)

5) To Actually Hear the Reference, Click the Speaker Icon

Leave a Reply